Video – https://youtu.be/NAp2eurb-jw
Hello friends,
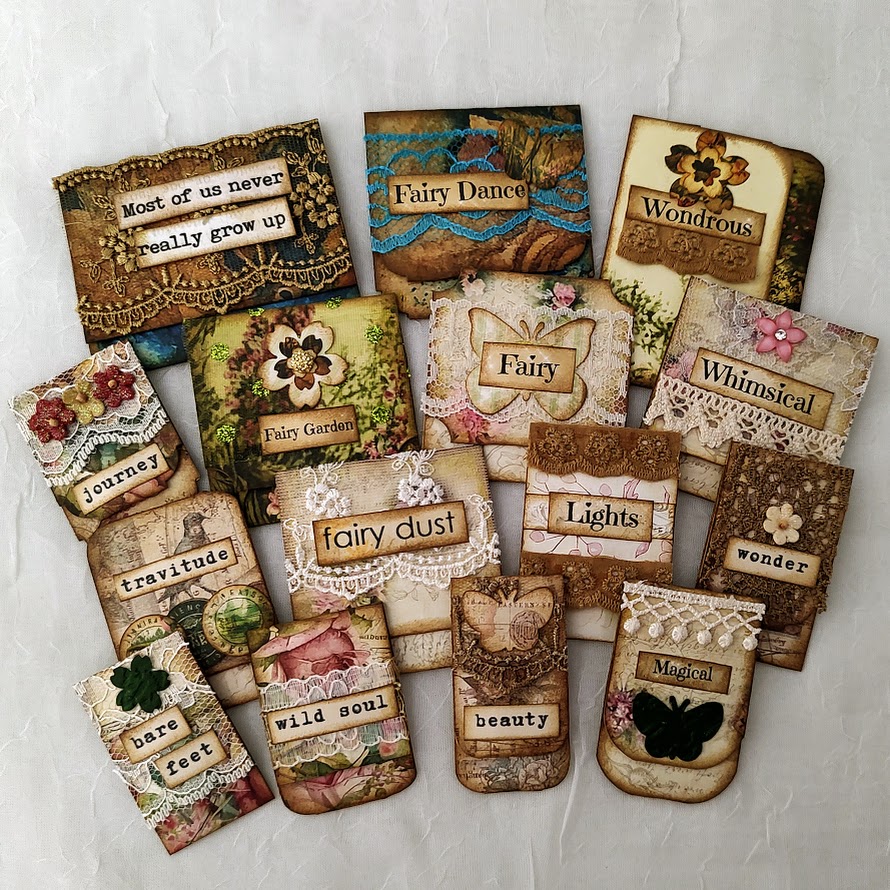
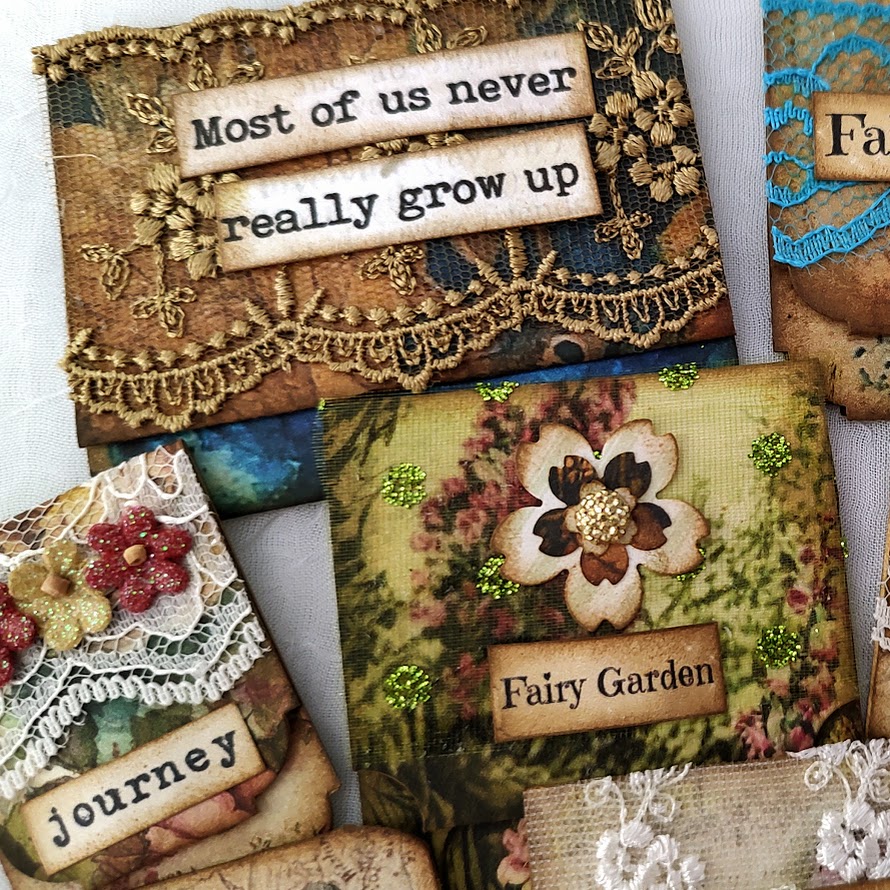
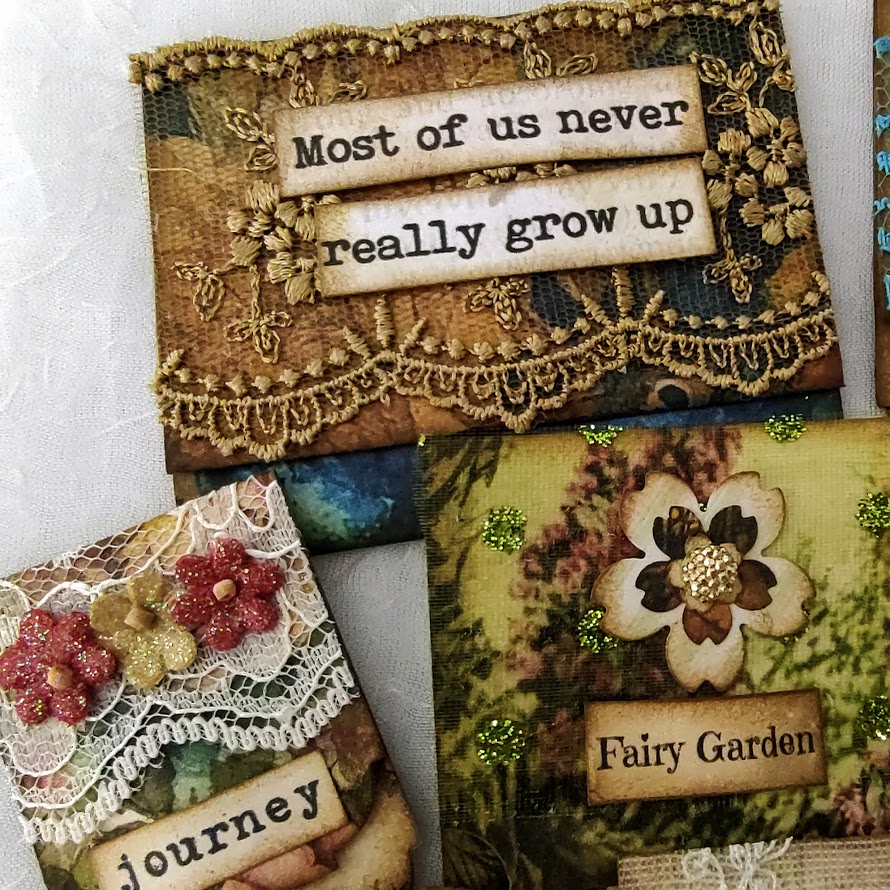
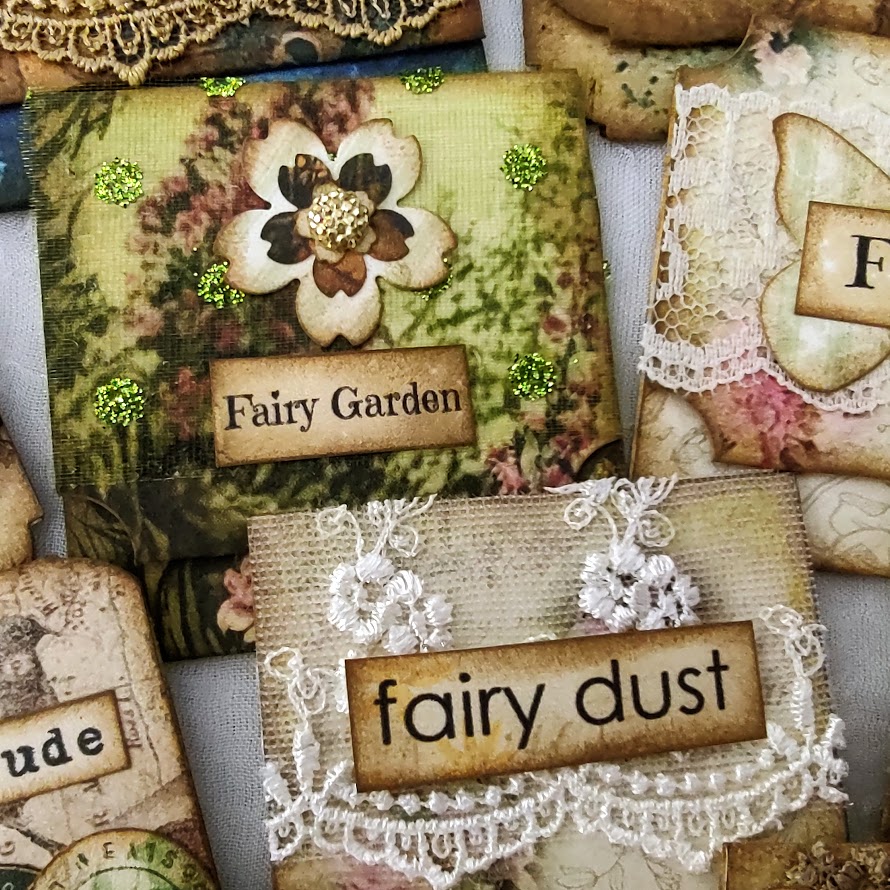
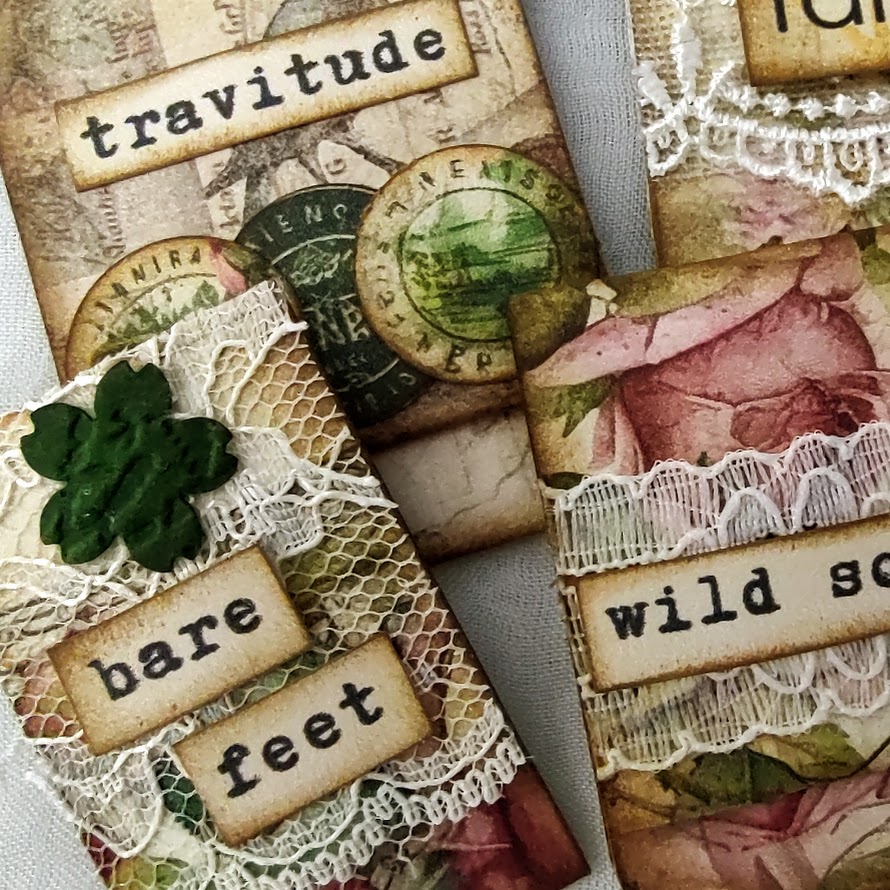
Today, I wanted to try these nifty paper clips. I watched a couple of videos of this process. It has been all the rave for the last month or so. I watched Eve over at Scrapbooking with Me and Spark Girl Studios. I will link both videos below. These were so much fun, though the process initially was very challenging for me. Once I got through the initial confusion of flips, folds, and such, they became very addictive. I made a lot of these off camera and did add some lace and words to them.
The Shabby Travel Journal (NOT the fairy journals) is the grand prize for our 3000 subscriber giveaway on the channel. There will be other prizes, but this is the only one I am disclosing entirely right now. Below, you will find the qualifications for entry.
Qualifications for the giveaway…
1) You must be a resident of US or Canada.
2) Be a subscriber.
3) Like each video in the Shabby Travel Journal Playlist.
4) Leave a comment on each video in the playlist sharing at least 2 YouTube creators that you enjoy following. It can be the same 2 creators in every comment. I just want to get the word out there about all the lovely creators around us.
5) Once we get to the last video in the series, I will let you know and will announce at that time when I will do the drawing.
Thank you for all your love and support!
I hope you enjoy!
***ALL CREDIT GOES TO –
Christina at Spark Girl Studios – https://www.youtube.com/watch?v=PGKVjdSYJAE&t=32s
Eve @ScrapbookingWithMe – https://www.youtube.com/watch?v=PGKVjdSYJAE&t=32s
SEE WRITTEN INSTRUCTIONS UNDER SUPPLY LIST
Supply list under photos!
Supplies used:
Fairy Phrases – Adamo Prints Etsy – https://www.etsy.com/listing/1010596898/fairies-phrases-journal-words-fairy?ref=yr_purchases
Fairy Words – Emma Parrish Etsy – https://www.etsy.com/listing/1416629841/printable-fairy-words-quotes-phrases?ref=yr_purchases
Grungy Fairy Words – Honey Puddle Etsy – https://www.etsy.com/listing/1066927343/grungy-fairy-word-scraps-digital?ref=yr_purchases
Fairy words and Tags – Ginger Journals Etsy – https://www.etsy.com/listing/1225831000/fairy-words-journal-printable-journal?ref=yr_purchases
Words also in the kits from My Porch Prints – Fairy Tea Party, Fairy Magic & Shabby Travel kits. Links already listed
Digital Kit – Shabby Travel Kit – My Porch Prints – https://www.etsy.com/listing/1437824903/junk-journal-shabby-travel-kit-europe?click_key=303a7d97af4f8f4ccb8b99529a44999a70b4420f%3A1437824903&click_sum=826f60ee&external=1&ref=hp_opfy-1-6&sts=1
Fairy Magic Add On Kit – My Porch Prints Etsy –
Fairy Magic Kit – My Porch Prints Etsy –
Fairy Tea Party Kit – My Porch Prints Etsy –
Fairy Tea Party Add On Kit –
INSTRUCTIONS FOR PAPERCLIPS –
Nifty Hidden Paperclips
I know this is probably hard to follow without pictures. I believe that it will make sense once you watch the video. Again, this is not my idea, just passing it along.
- Paper Dimensions – the length needs to be 10 ¼ inches. The height doesn’t matter (the height merely controls how many paperclips you can get from one piece of paper)
- Lay out your paper with the preferred side facing up (the other side would be white or perhaps printed on)
- Fold over from right to left, leaving 1 ¼ inches at the end. The length folded over should measure 4 ½ inches)
- Add your paperclips, long side on top. You can add your paperclips as close or as far apart as you desire)
- Fold over from left to right over the paperclips. Be sure that your paper is folded right up to the edge of the paperclips.
- There should be 5/8 of an inch left over. Fold that over the top of the paper clips
- Looking at your paper so that you now see the short side of the paper clips, fold that bit in the same fashion as before. Be sure that your paper fold is right up to the bottom of the paperclips.
- Last fold for tabbed paperclip – Fold the last bit one more time so that the straight edge of the folded piece meets the folded edge.
- Last fold for non-tabbed paperclip – Fold the last bit one more time so that the straight edge folds all the way to the inside edge of the existing fold. You will have a little excess to cut off with this method.
- Cut the paperclips apart. I did use my cutter, but you could do it by hand if you like.
- You may want to mark with an X, the part of the fold that holds the paperclip, both sides. I also added an L to the side that has the long side of the paperclip.
- At this point, remove the paperclip. Ink or round corners if you wish.
- Gluing – put the paperclip back in place. Glue the piece with the L and the X to the section above it. Glue the 5/8 in at the top over on top of that piece. Now flip to the short side of the paperclip. Glue that one to the section you just glued. The last glue fold is glued to the back.
***ALL CREDIT GOES TO –
Christina at Spark Girl Studios – https://www.youtube.com/watch?v=PGKVjdSYJAE&t=32s
Eve @ScrapbookingWithMe – https://www.youtube.com/watch?v=PGKVjdSYJAE&t=32s