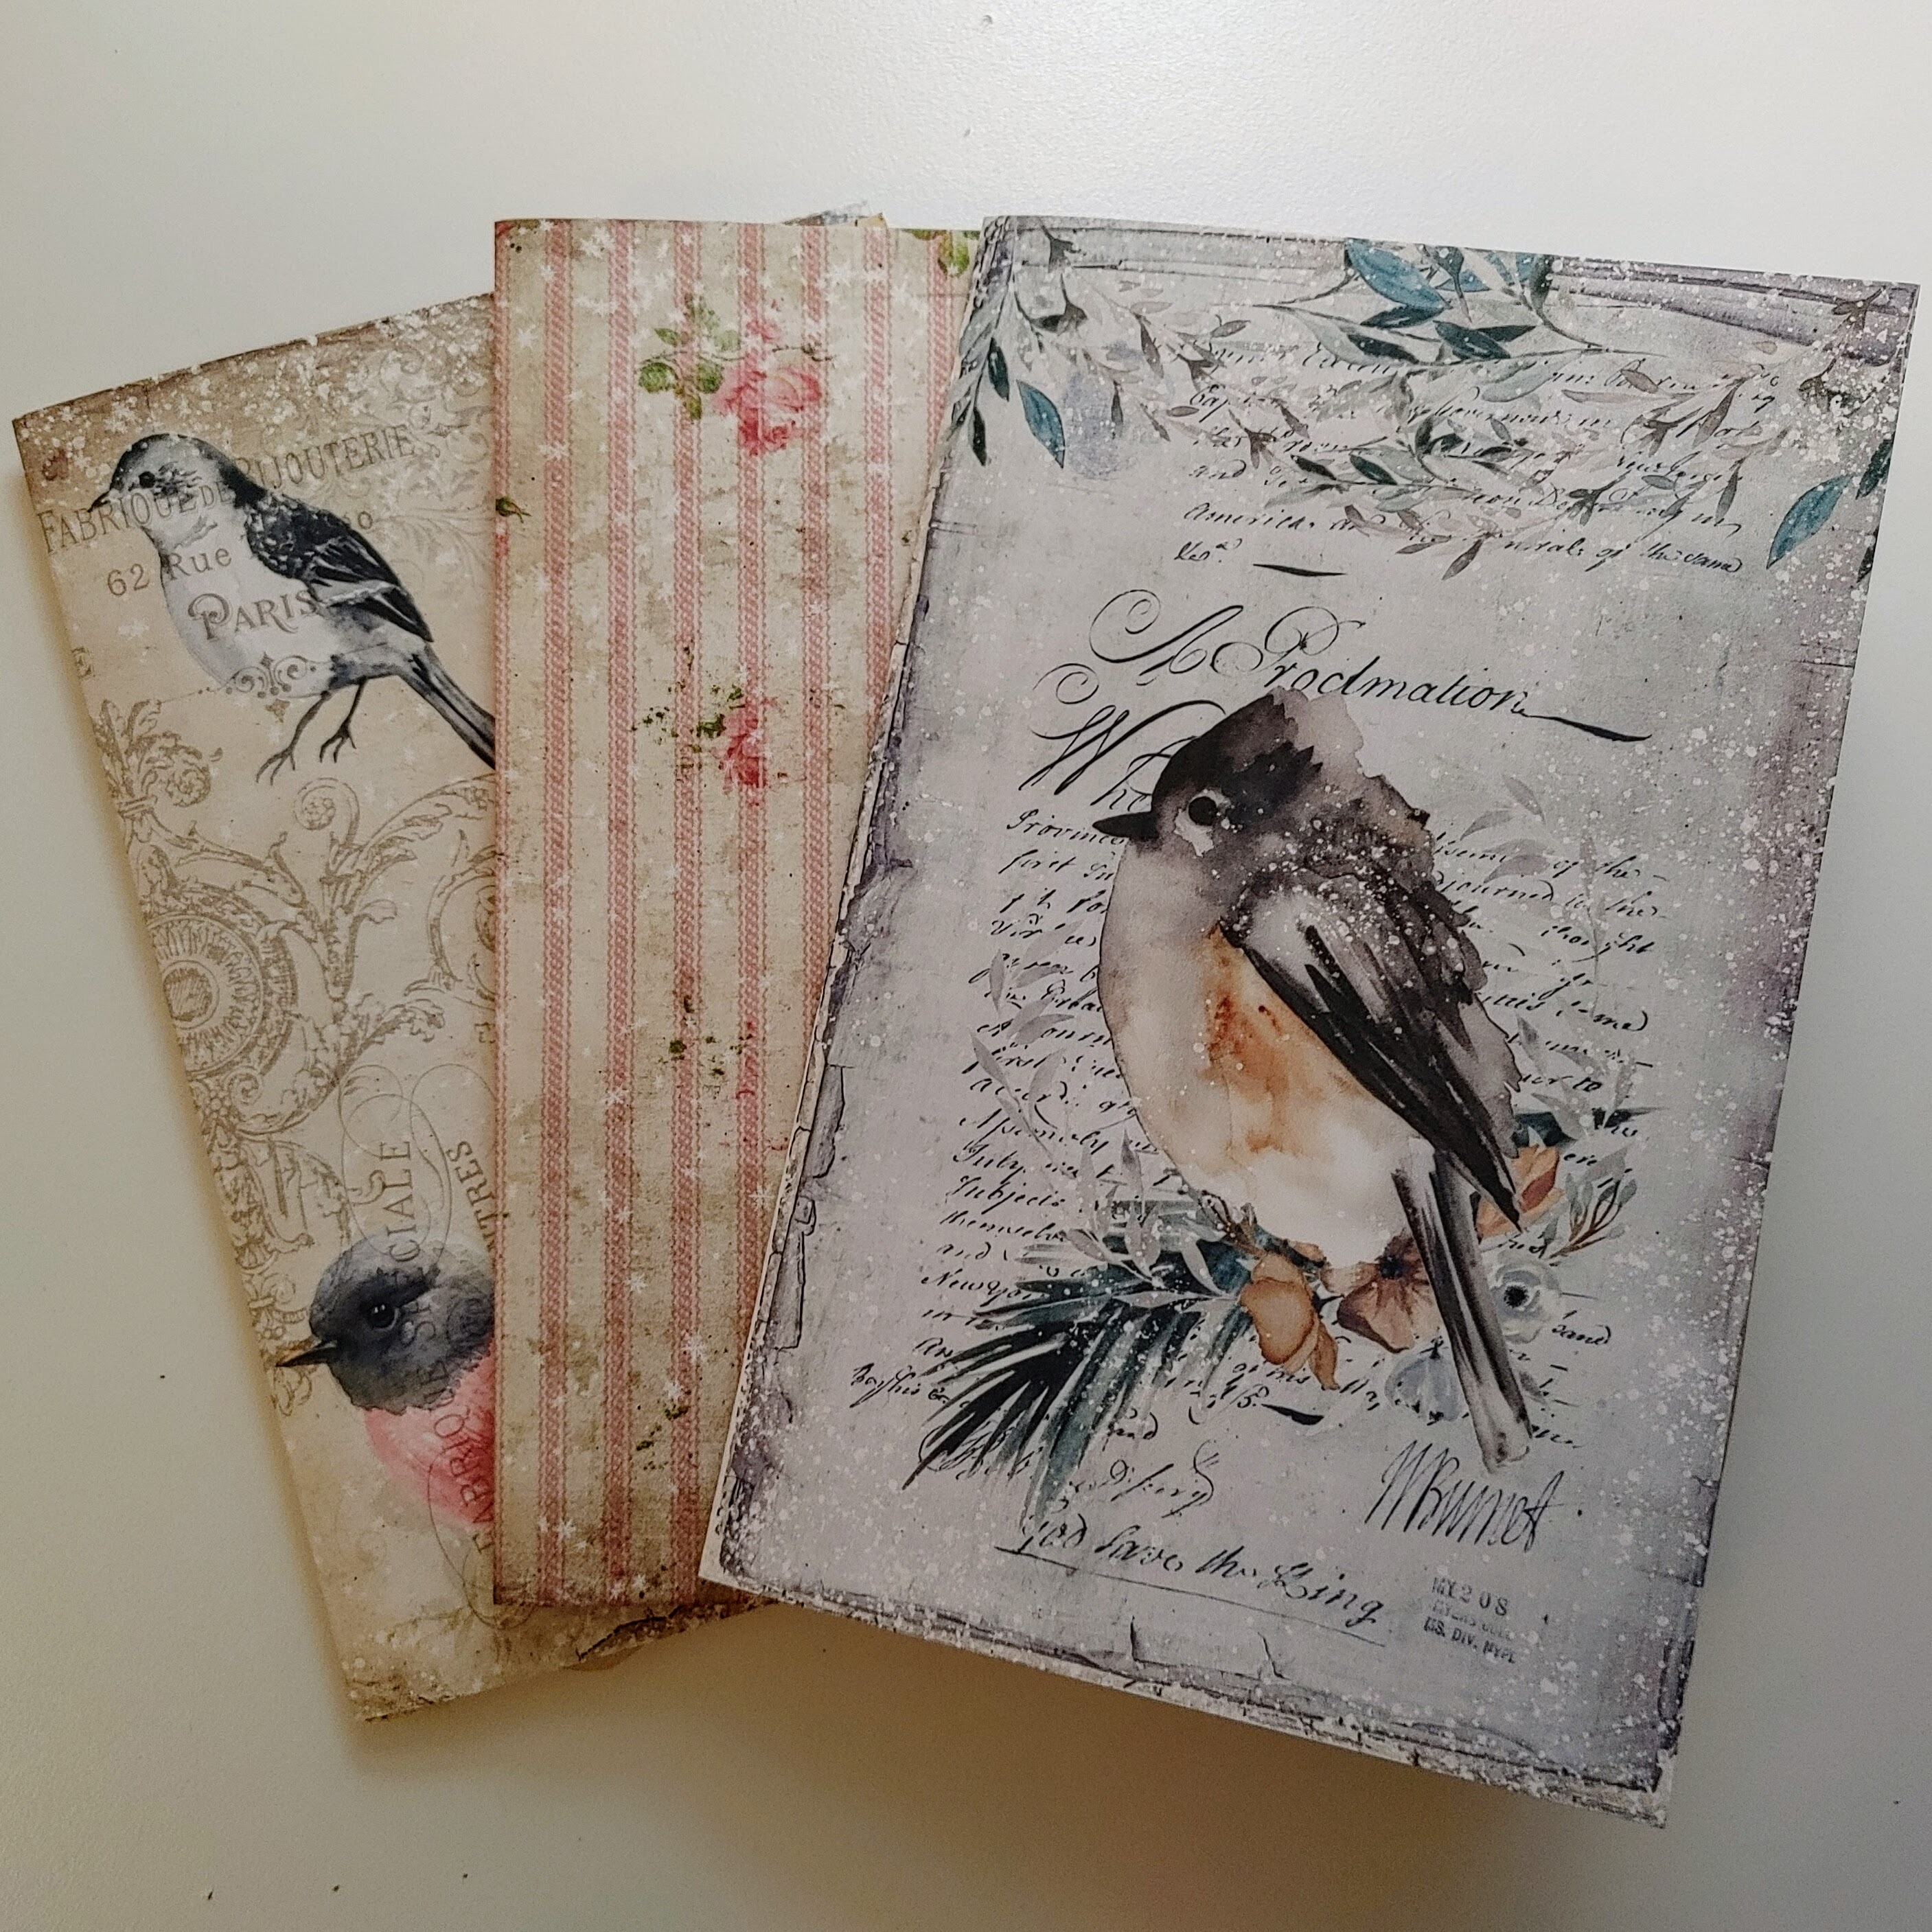
Video – https://youtu.be/oUBHj4Shcx0
Hello friends,
I had some requests to do a video where I show how I choose the pages I put into my signatures. Check out the video for details!
If you missed the video on printing on tissue paper and vellum, here is the link –
I hope you enjoy!
Supply list under photos!

Supplies used:
Digital Kit – Winter Garden Kit – My Porch Prints – https://www.etsy.com/listing/921988035/junk-journal-winter-garden-regular-size
Vellum Page- Distressed Aged Paper – Digital Fit Etsy –https://www.etsy.com/listing/1041380470/distressed-aged-paper-7-antique-
Vellum Page – Lace Paper – Digital Fit Etsy – https://www.etsy.com/listing/1066991050/lace-paper-pack-digital-collage-
Vellum Page – Cannot located the maker of the 3rd one
Coffee dyed paper, vintage music paper, 3M masking paper and vellum from my stash
Junk Journal Basic Supplies List –
FabriTac Glue – https://www.amazon.com/s?k=fabritac&ref=nb_sb_noss
Art Glitter Glue – https://www.amazon.com/s?k=art+glitter+glue&ref=nb_sb_noss_2
Ranger Archival Ink – Vintage Photo – They no longer make the pad so I bought the re-inker and a DIY ink pad – https://www.amazon.com/Ranger-AIP48077-Empty-Archival-Pad-Empty/dp/B016A88EAI/ref=sr_1_4?dchild=1&keywords=ranger+diy+ink+pad&qid=1626104364&sr=8-4
Https://www.amazon.com/s?k=vintage+photo+reinker&ref=nb_sb_noss_2